


There comes a time when you need to change out a drive or you want to sell or donate your computer, but don’t want to leave any personal data behind. You see, when you “delete” files, they’re not really deleted upon emptying the trash can. They’re still on the drive, but they’re just not listed in the “master file table” (the equivalent of a table of contents or an index) any more. If the someone you’re selling/donating your PC to has the where with all they could restore your files and have full access to them.
Windows (and other operating systems) keep track of where files are on a hard drive using “pointers.” Each file and folder on your hard disk has a pointer that Windows uses to locate where a particular file’s data begins and ends. When you empty the trash to delete a file, Windows merely removes the pointer, but the file is still physically there. It will remain on the drive and may be fully intact until Windows over-writes that space with some other file because, as far as Windows knows (no pointer), that space on the drive is “empty” space.
There are a couple of ways you can “wipe’ (over-write all or just some of) your drive. You can use one of a couple of applications, or you can use a command already installed on your PC. Let’s start with some freeware applications with other benefits as well.
CCleaner Free Edition
CCleaner Free has a utility under the “tools” menu you can use to completely wipe a drive, or just “wipe the free space” only. Before opening the tool, you might want to first set up how you want it to over-write space. Open CCleaner Free and click on Options and then Settings. Scroll down to the “Secure Deletion” section and click the “Secure file deletion (slower) radio button. Then select the number of passes you’d like it to make during wipe operations:
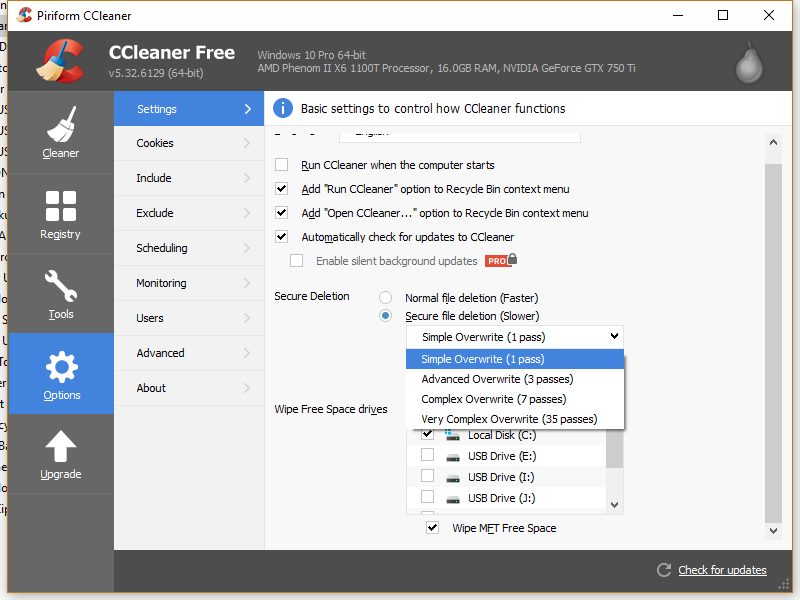 |
Then, click on the “tools” section and click on “drive wiper.” It gives you two choices, wipe the free space only or wipe the entire drive. Make your selection and then click “wipe.”
 |
If you’ve got a second drive in the PC, you might want to wipe the “entire drive” … but if you’re planning on selling/donating your PC with a working operating system, you might want to wipe the “free space only.” When you select the “free space only,” those items still on your drive, but not listed in your “master file table” (things you’re unable to see in the “windows explorer” window), will be over-written.
Glary Utilities Free Edition
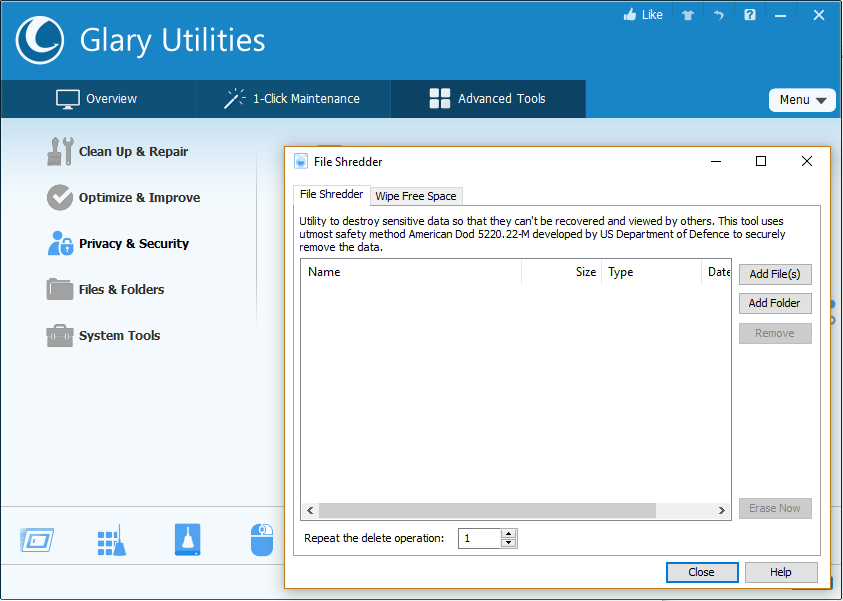
Glary Utilities also has a “Shredder” and a “Wipe” utility. If you’ve installed Glary, click on the Advanced Tools tab, select the “Privacy and Security” section and click on the “File Shredder”link to open that tool. In the File Shredder window, you can select any number of files or folders to securely remove the data. Plus, you can select whatever number of times (1-10) you want to over-write your data using the delete operation.
 |
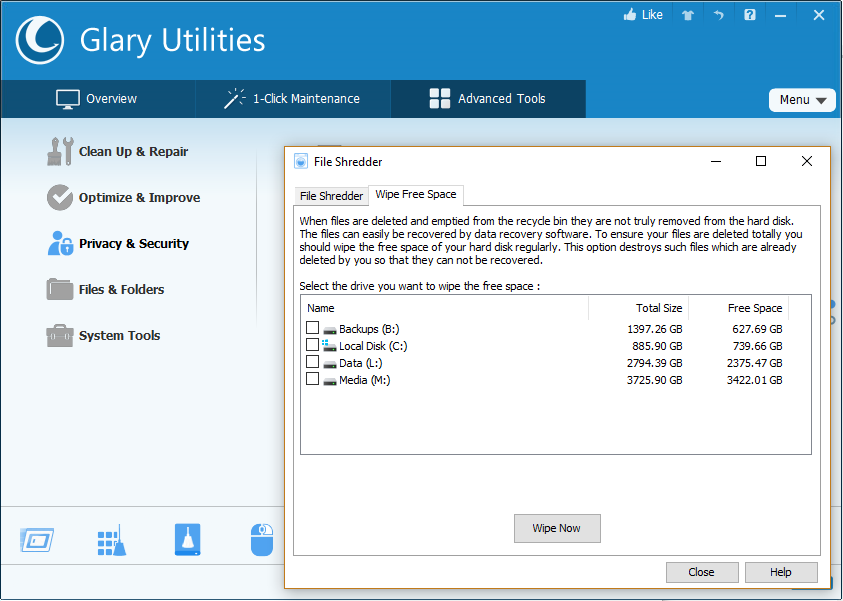
Using the Wipe Free Space” — you can select which drives you’d like the tool to wipe “only the free space”
 |
Using the CIPHER command
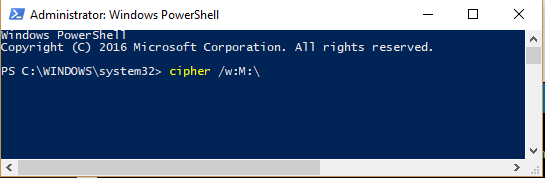
If you don’t have either of those tools installed and don’t want to install either of them, you can use the CIPHER command to wipe a drive. The cipher command is mostly used for managing encryption, but it also has an option that will write garbage data to a drive, clearing its free space and ensuring no deleted file can be recovered. If you’re using Windows 10, open a “PowerShell” or “Command Prompt” window by right-clicking on the Windows Start icon and selecting Windows PowerShell(Admin)” for the current Windows 10 version or “Command Prompt (Admin)” for previous versions of Windows 10. To use the command, specify at the prompt, the drive you want to wipe, like so:
cipher /w:M:\
Once the operation has completed, and the prompt appears, type EXIT to exit the Window.
Please note that there is no space between the switch (/w:) and the drive (M:\)
Hope this post helps you whenever you find the need to “wipe” a drive.